Support the sheet close to the piece
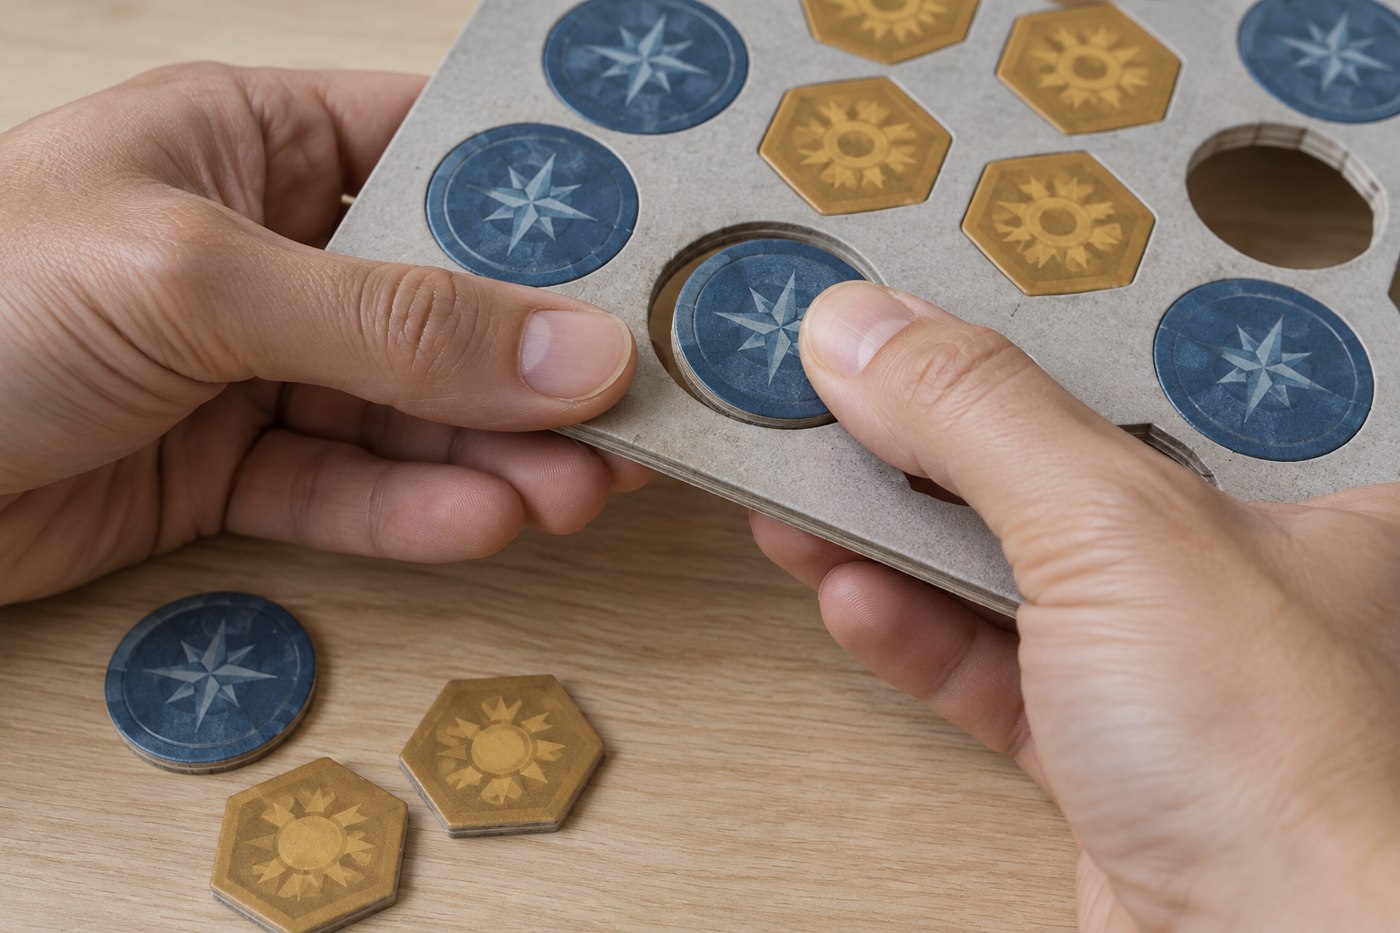
Hold the surrounding frame near the token rather than gripping only the outer edge. Press gently with the broad pad of a finger and watch how the cut separates. Follow any direction supplied by the publisher. If one side appears to release more cleanly, use that side consistently while keeping the printed face supported.
Do not twist a narrow part such as a cardboard arrow or standee neck. Support both sides of delicate shapes and release their attachment points gradually. A token that resists is a reason to stop and inspect, not to apply a sudden harder push.
Deal with resistance carefully
Look for an uncut bridge, compressed edge or section where the paper layer is lifting. Gently flex the surrounding waste frame rather than the token itself. If the piece still cannot separate cleanly, leave it attached while you check the manufacturer's advice or contact the seller. Cutting tools can slip into artwork or fingers, so do not improvise a forceful cut while holding the sheet in your hand.
Avoid pulling a dangling paper fibre across the token face. That can lift a longer strip of printed paper. A small rough edge may be cosmetic and need no treatment. Do not sand, wet or glue a token merely to make it look perfect without considering how that treatment affects its fit or readability.
Count and sort as you go
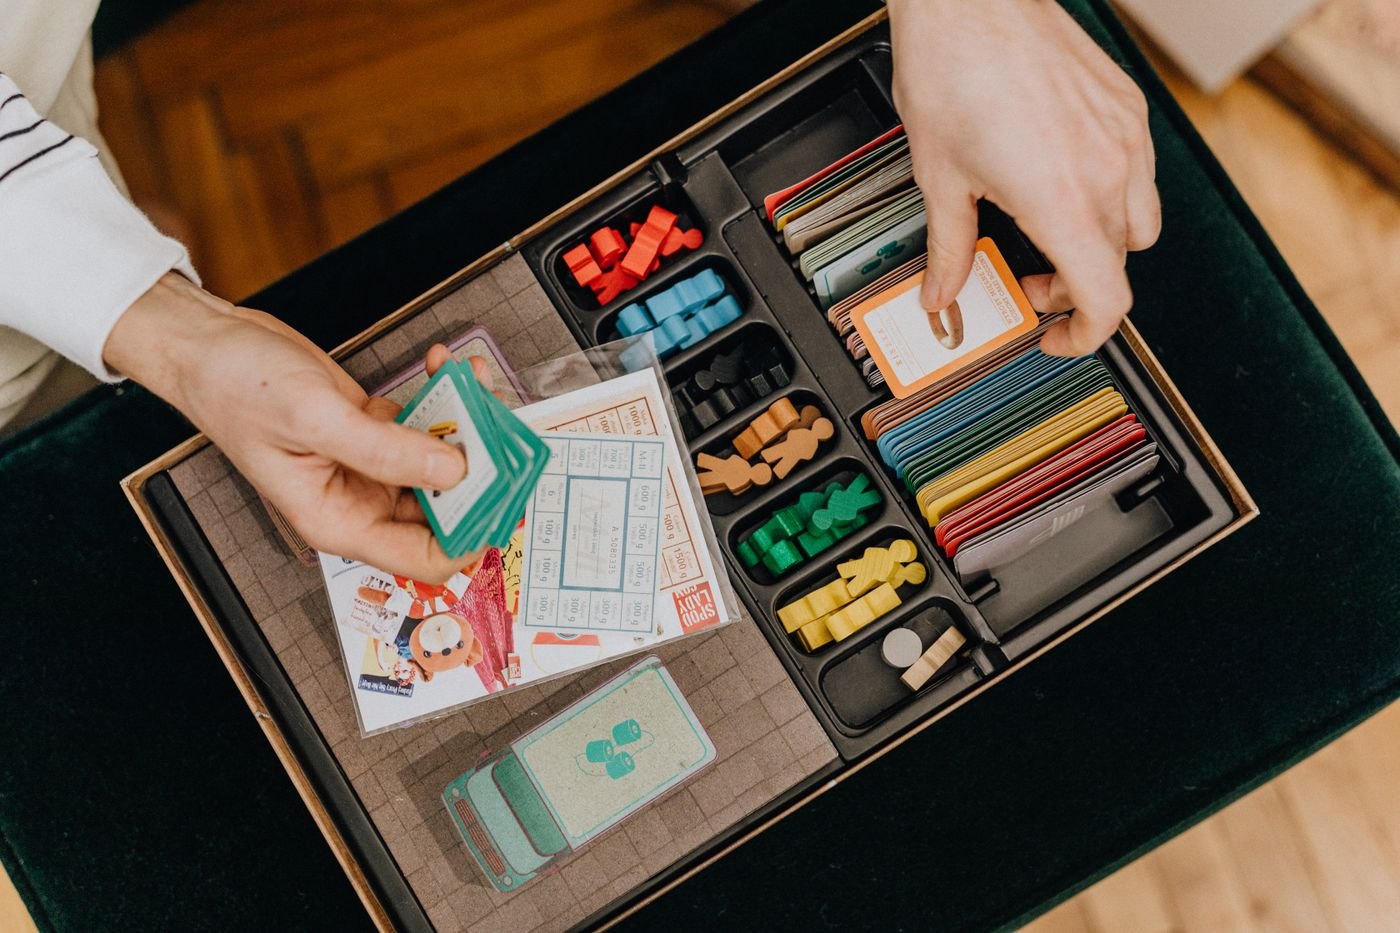
Release one sheet at a time and compare its pieces with the component list. Turn double-sided tokens over before assigning them to piles. Some apparently identical fronts have different reverse sides that matter during setup. Keep player-specific sets distinct from shared resources.
Retain the frames until the inventory is complete. Check any printed storage directions before recycling them; some inserts use spare cardboard beneath a tray to change its height. Do not add filler by habit, since another box may need that space for its board or rulebook.